The Crossover Jump Rope
What is the Crossover Jump Rope Move
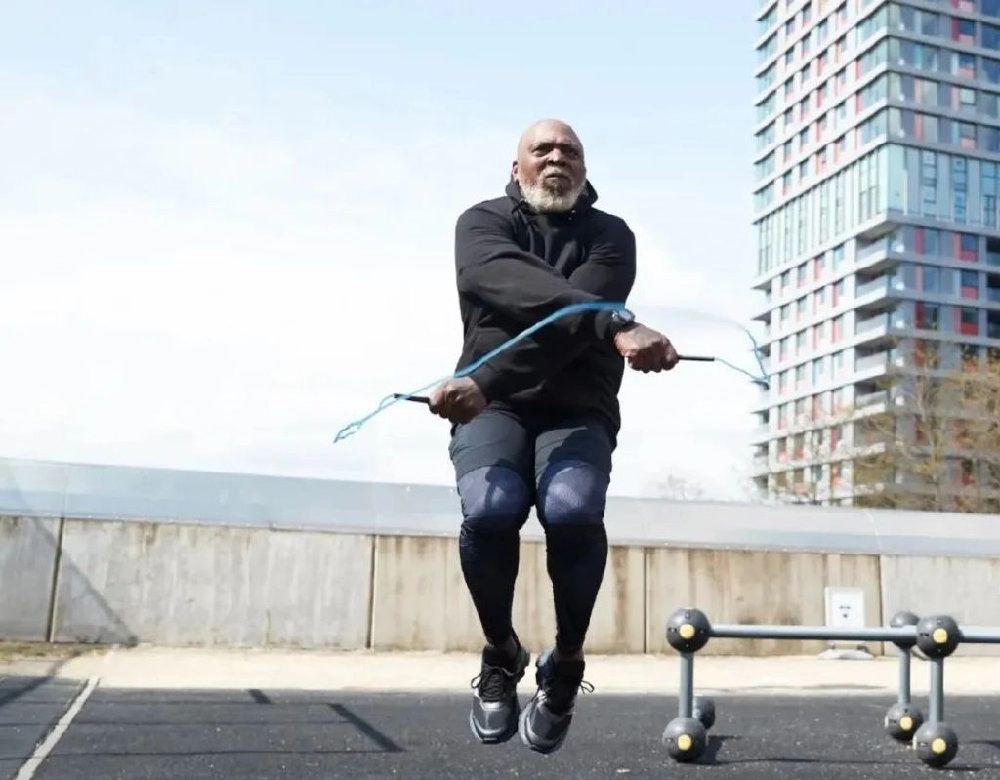
The crossover jump rope is a dynamic rope-skipping technique where you cross your arms in front of your body while jumping so the rope passes under your feet. With each swing, your arms uncross, and the rope completes the cycle. This move is not just for show—it builds timing, rope control, and upper body coordination, making it a favorite among athletes, fitness enthusiasts, and jump rope performers alike.
Benefits of the Crossover Jump Rope
- Enhances coordination by engaging both arms and legs in synchronized movement
- Improves agility and rhythm, crucial for sports and athletic conditioning
- Increases cardiovascular endurance, offering a full-body cardio workout
- Builds strength in key muscle groups, particularly in the shoulders, chest, forearms, and legs
- Adds variety and challenge compared to basic jump rope moves, helping avoid training plateaus
Differences Between Basic Jump, Alternate Foot Jump, and Crossover
| Move Type | Arm Movement | Foot Movement | Skill Level |
|---|---|---|---|
| Basic Jump | Arms swing naturally at sides | Both feet jump together | Beginner |
| Alternate Foot Jump | Arms swing naturally at sides | Feet alternate on each jump | Beginner |
| Crossover | Arms cross in front of body | Both feet jump together or with variations | Intermediate to Advanced |
The basic jump is best for establishing rhythm and timing. The alternate foot jump adds light footwork and helps improve stamina. The crossover jump rope demands more precision—if your timing or hand placement is off, you’ll tangle the rope.
Muscles Engaged and Skills Developed
While the crossover move might look like an upper-body trick, it’s actually a full-body workout.
Primary muscles targeted:
- Shoulders (deltoids) – control arm swing and crossing motion
- Forearms and grip muscles – guide rope and maintain stability
- Pectorals – engaged during the crossing and uncrossing phase
- Quadriceps, hamstrings, calves – generate jumping power
- Core muscles – maintain posture and balance
Skills improved:
- Timing and coordination between upper and lower body
- Spatial awareness, knowing when and how to cross to avoid tangles
- Endurance, as crossover jumps can be integrated into high-intensity routines
- Fine motor control for precise rope manipulation
For the best experience and performance in crossovers, using a well-balanced, smooth-spinning rope is essential. Many athletes prefer PVC and ball-bearing jump ropes for consistent speed and minimal friction. You can explore professional-grade ropes in the shop here.
Equipment Basics for Crossover Jump Rope
Choosing the right jump rope for crossovers makes a huge difference in your performance, speed, and comfort. The right setup not only helps you nail the jump rope crossover technique but also reduces fatigue and keeps your rhythm smooth.
Rope Length for Crossovers
- Correct length is key. Stand on the middle of the rope—handles should reach your armpits for most beginners.
- Shorter ropes = faster rotations and better control for jump rope tricks like crossovers.
- Too long? The rope will slap the floor and break your flow.
| Your Height | Rope Length |
|---|---|
| Under 5’4″ | 8 ft |
| 5’4″ – 5’9″ | 9 ft |
| 5’10” – 6’2″ | 10 ft |
| Over 6’2″ | 11 ft |
Best Rope Materials for Crossovers
- PVC ropes – Smooth, quick, and flexible. Great for speed and training coordination.
- Beaded ropes – Perfect for beginners. The extra weight slows the spin, making crossover jump rope steps easier to learn.
- Steel cable ropes – Mostly for advanced or competitive jumpers. High speed but less forgiving on mistakes.
Handle Types That Help with Crossovers
- Ergonomic handles – Reduce wrist strain and help with longer practice sessions.
- Ball-bearing systems – Keep your rotations smooth and consistent.
- Lightweight handles – Better control for timing your arm crossover motion.
Benefits of Using a High Quality Rope
- Consistent spin speed for learning advanced jump rope crossover tricks.
- Durability for indoor and outdoor use.
- Fewer tangles and less friction so you can focus on your rhythm, not fixing knots.
Rope Maintenance Tips
- Always untwist the rope after use to avoid kinks.
- Store it hanging or loosely coiled—never tightly wrapped.
- Avoid rough concrete for PVC ropes; wood, gym floors, or rubber mats help them last longer.
- Wipe down beaded ropes to keep grit from damaging the cord.
Step by Step Technique Breakdown for Crossover Jump Rope
Mastering the crossover jump rope technique takes more than just swinging your arms. It’s all about building a solid foundation, getting the timing right, and keeping your form clean. Here’s how to break it down.
Warm Up for Wrists, Shoulders, and Legs
Before you even start practicing, warm up to prevent strain and improve mobility:
- Wrist rolls – 20–30 seconds in each direction
- Shoulder circles – forward and backward, 10 reps each
- Light jog or jump in place – 1–2 minutes to elevate heart rate
- Leg swings and calf raises – prep your lower body for repetitive jumps
Master the Basic Jump First
If your basic jump isn’t smooth, the crossover will be much harder. Make sure you can:
- Keep a steady rhythm without tripping
- Maintain small, consistent jumps (about 1–2 inches off the floor)
- Land softly on the balls of your feet
- Keep elbows close to your body to avoid wide swings
Arm and Hand Positioning Before the Crossover
Starting position matters:
- Hold the handles comfortably with a neutral wrist
- Elbows slightly bent and close to your ribs
- Keep hands just outside your hips for optimal rope clearance
Timing and Motion of the Arm Crossover
The crossover happens fast, so timing is key:
- From the basic jump, bring one arm over the other in front of your body
- Hands cross at waist height – not too high or low
- The rope should keep moving smoothly without hesitation
- Uncross on the next rotation to return to basic jump form
Jumping Technique During the Crossover
- Stay light on your feet – avoid big vertical jumps
- Keep knees soft and absorb impact
- Focus on jumping just enough for the rope to clear your feet
- Maintain your rhythm; don’t rush the crossover
Breathing and Rhythm Tips
- Inhale and exhale naturally with your jumps
- Avoid breath-holding, which can throw off timing
- Count your jumps to stay in sync
- Use music with a steady beat to lock in a consistent pace
If you’re looking to make training smoother, using a rope with ball bearings like the ball bearing skipping rope can help maintain consistent rotation speed, making timing easier to nail.
Training Tips to Master the Crossover Jump Rope
Mastering the crossover jump rope takes patience, timing, and precision. It’s not just about swinging your arms — you need solid fundamentals, good rhythm, and consistent practice. Here’s how to build up from the basics to clean, smooth crossovers.
Progression From Basic Jumps to Crossovers
Before you try crossovers, you should be comfortable with:
- Basic two-foot jump for 1–2 minutes without tripping.
- Alternate foot jump to improve coordination.
- Light wrist control to keep the rope moving smoothly.
Once those are solid, add crossover drills by:
- Practicing the arm cross without jumping — just swing the rope in front of you and reset.
- Doing one crossover every 5–10 jumps to keep form in check.
- Gradually reducing the number of regular jumps between crossovers.
Practice Without the Rope First
A lot of beginners struggle because the rope adds pressure. Drop it for a bit and:
- Cross your arms in front of you while hopping in place.
- Focus on hand placement — hands should cross low and in front of the hips.
- Return to open position quickly after the “cross” to avoid tangles.
Slow Motion Reps Then Increase Speed
Rushing the move will cause missed jumps. Instead:
- Start in slow motion — do the crossover at half speed to nail timing.
- Gradually speed up while keeping posture and breathing steady.
- Aim for a smooth motion, not a hard arm whip.
Use Mirrors Or Video For Feedback
Seeing your form makes a big difference:
- Use a mirror for real-time adjustments.
- Record short clips of your practice to check crossover timing and rope clearance.
- Look for over-rotating arms or uneven rope swing, then correct it on the next set.
Build a Regular Practice Routine
Consistency will make the move second nature:
- Set aside 10–15 minutes, 3–4 times a week just for crossover work.
- Mix drills: no-rope practice, slow-motion reps, and timed sets.
- End with a freestyle round to keep it fun and introduce variety.
If you keep sessions short but consistent, the jump rope crossover technique will feel natural within a few weeks.
Common Mistakes in Crossover Jump Rope and How to Avoid Them
Even if you’ve nailed the basic jump, the crossover takes some extra coordination. Here are the mistakes most people make when learning — and how to fix them.
Wrist Overuse and Tension
One of the first problems people run into is overworking the wrists. Many try to force the rope through with excess wrist flicking, which tires you out and can cause strain.
Fix it:
- Keep your wrists relaxed and let the rotation come from a combination of forearm and wrist movement.
- Avoid locking your grip too tightly on the handles.
- Aim for small, efficient rotations — the rope should do most of the work.
Jumping Too High or Too Low
If you jump too high, you waste energy and lose rhythm. Too low, and the rope will hit your feet.
Fix it:
- Stay consistent with a hop about 1–2 inches off the ground.
- Focus on quick, light jumps rather than big leaps.
- Practice your basic jump height before mixing in crossovers.
Incorrect Arm Positioning and Rope Tangles
Crossovers require smooth arm crossing — not swinging them too far out or keeping them too close to your body. Poor positioning leads to rope tangles mid-jump.
Fix it:
- Cross your arms at the forearms, not at the wrists or elbows.
- Keep hands slightly forward and down from your waistline when crossed.
- Open your arms back out quickly after the crossover to reset.
Losing Rhythm and Cadence
Breaking rhythm is a common issue, especially when focusing too hard on arm motion. Once you lose the timing, the rope catches.
Fix it:
- Count your jumps out loud or in your head to stay in rhythm.
- Use a playlist or metronome app to jump to a steady beat.
- Practice slowing the move down before building up to full speed.
Quick Tips to Stay on Track
- Warm up shoulders and wrists before practicing crossovers.
- Record yourself to check form and timing.
- Break the move down: practice arm crossovers without jumping first.
- Stick to short, focused sets to avoid fatigue and sloppy form.
By spotting and correcting these mistakes early, you’ll move from fumbling through crossovers to landing them clean, smooth, and without breaking your flow.
Advanced Crossover Variations
Once you’ve nailed the basic crossover jump rope technique, you can level up with more complex variations that challenge your coordination, timing, and endurance. These moves are popular in advanced jump rope workouts and can really improve agility while keeping things fun.
Double Under Crossover
The double under crossover combines the speed of a double under with the timing of a crossover.
- Swing the rope under your feet twice per jump while crossing your arms on the second rotation.
- Keep your jumps low and quick to maintain speed without tiring out too fast.
- Use your wrists for rope speed and avoid excessive arm movements.
Reverse Crossover
The reverse crossover (also called a backward cross) flips the motion, with the rope spinning backward as your arms cross in front.
- Start with a few smooth backward swings to get rhythm.
- Cross your arms the same way as a forward crossover but maintain backward rope momentum.
- This works different muscle groups and improves reverse jump rope control.
Criss Cross Variations
These are quick alternating crosses without a full reset to normal jumps between each crossover.
- Can be single bounce criss-crosses or double side-switching crosses.
- Great for advanced foot speed and hand coordination.
Crossovers with Footwork Changes
Adding steps to crossovers increases difficulty and calorie burn. Try:
- Side-to-side steps to mimic shuffles.
- High knees while crossing.
- Skier jumps (small lateral hops) combined with crossovers.
Master the Basics First
Before attempting advanced crossover variations:
- Be consistent with your basic jump and standard crossover.
- Focus on wrist control, rope length, and arm positioning to avoid tangles.
- Build endurance gradually—overdoing advanced tricks too early can cause wrist or shoulder strain.
Safety Tips for Crossover Jump Rope
Staying safe while practicing the crossover jump rope is just as important as learning the move itself. Proper preparation and mindful training can help prevent common injuries and keep your workouts consistent.
Warm Up and Stretching
Jumping right into intense rope work—especially crossovers—can strain your joints and muscles. Always start with a 5–10 minute warm-up.
- Light cardio like jogging in place or basic jumps to get the blood flowing.
- Dynamic stretches for wrists, shoulders, and calves to loosen up the joints before impact.
- Gradually increase speed and complexity instead of going full power from the first set.
Avoid Wrist and Shoulder Strain
Crossovers demand more arm movement than normal jumps, so overuse injuries are a risk.
- Keep your grip relaxed—let the rope handles turn freely without forcing it.
- Use wrist flicks rather than big arm swings to guide the rope.
- Engage your shoulders lightly instead of locking them tight.
Best Surfaces for Jump Rope Practice
Your landing surface can make a huge difference in joint health and rope durability.
- Shock-absorbing floors like wood, sprung flooring, or gym mats are ideal.
- Avoid jumping on hard concrete for long periods—it increases stress on knees and ankles.
- Flat, even surfaces keep your rhythm smooth and reduce rope tangles.
Knowing When to Rest and Recover
Even with good form, your wrists, calves, and shoulders need recovery time.
- Take rest days between heavy jump rope sessions to allow for muscle repair.
- If you feel joint pain or numbness, stop immediately and assess technique or equipment.
- Alternate intense crossover training with lighter jump rope drills to balance workload.
By focusing on proper prep, technique, and surfaces, you’ll not only avoid injuries but also improve your crossover jump rope performance over time.